Lift Axle Installation 101Installing Lift Axles with Confidence
In the regulation-driven world of trucking, lift axles are a common solution to balance federal and state law compliance with increased productivity and profitability. Although these laws and regulations may seem complicated, Link products and our team are here to provide support to make installations swift and easy. Recently, Kirt outlined the process to spec the perfect lift axle for your work truck. This blog in tandem provides an outline on the installation process for lift axles once you’ve spec’d and received them, as well as certain things to keep in mind throughout the process. As we walk through each stage, be sure to refer to your axle’s installation guide, which can always be found on our website.
Installation Process for a Lift Axle
STEP 1 Pre-Installation Checklist
When installing a lift axle, it’s essential to follow a structured approach to ensure a smooth installation process and to avoid any potential issues.
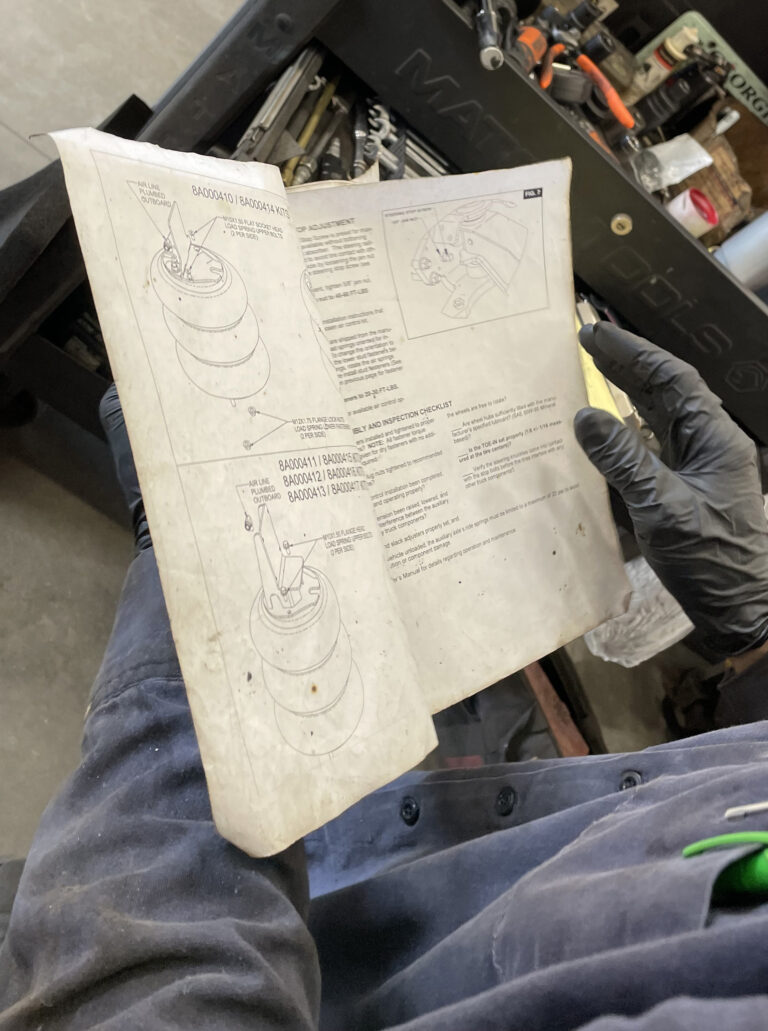
- Read the Installation Instructions: Before starting the installation, thoroughly read through the installation instructions provided to understand the entire process and any specific requirements or precautions. Installation instructions for our lift axles are available on Link’s website.
- Check Axle Spacing for Legal Compliance: Ensure that the axle spacing you plan to use meets both the Federal Bridge Formula and Truck Weight Regulations in the states in which the truck will be utilized. Non-compliance can lead to legal issues and fines.
- Frame Width Verification: Confirm that the frame width of your vehicle matches the suspension specifications, which typically range between 33 3/8 inches to 35 inches. This is crucial for the proper fit and function of the lift axle.
- Air Supply and Storage Check: Verify that your vehicle has adequate air supply and storage to support the braking requirements for the lift axle. This is vital for the safe operation of the vehicle. For vehicles without adequate air supply, Link provides an integrated air option.
- Crossmember Positioning: Ensure that the crossmembers are located at the recommended distance from the frame brackets. Incorrect positioning can affect the stability and strength of the installation.
- Clearance Verification: It’s important to verify that there will be sufficient clearance for the lift axle with other truck and body components, especially the driveline. Inadequate clearance can lead to operational issues or damage.
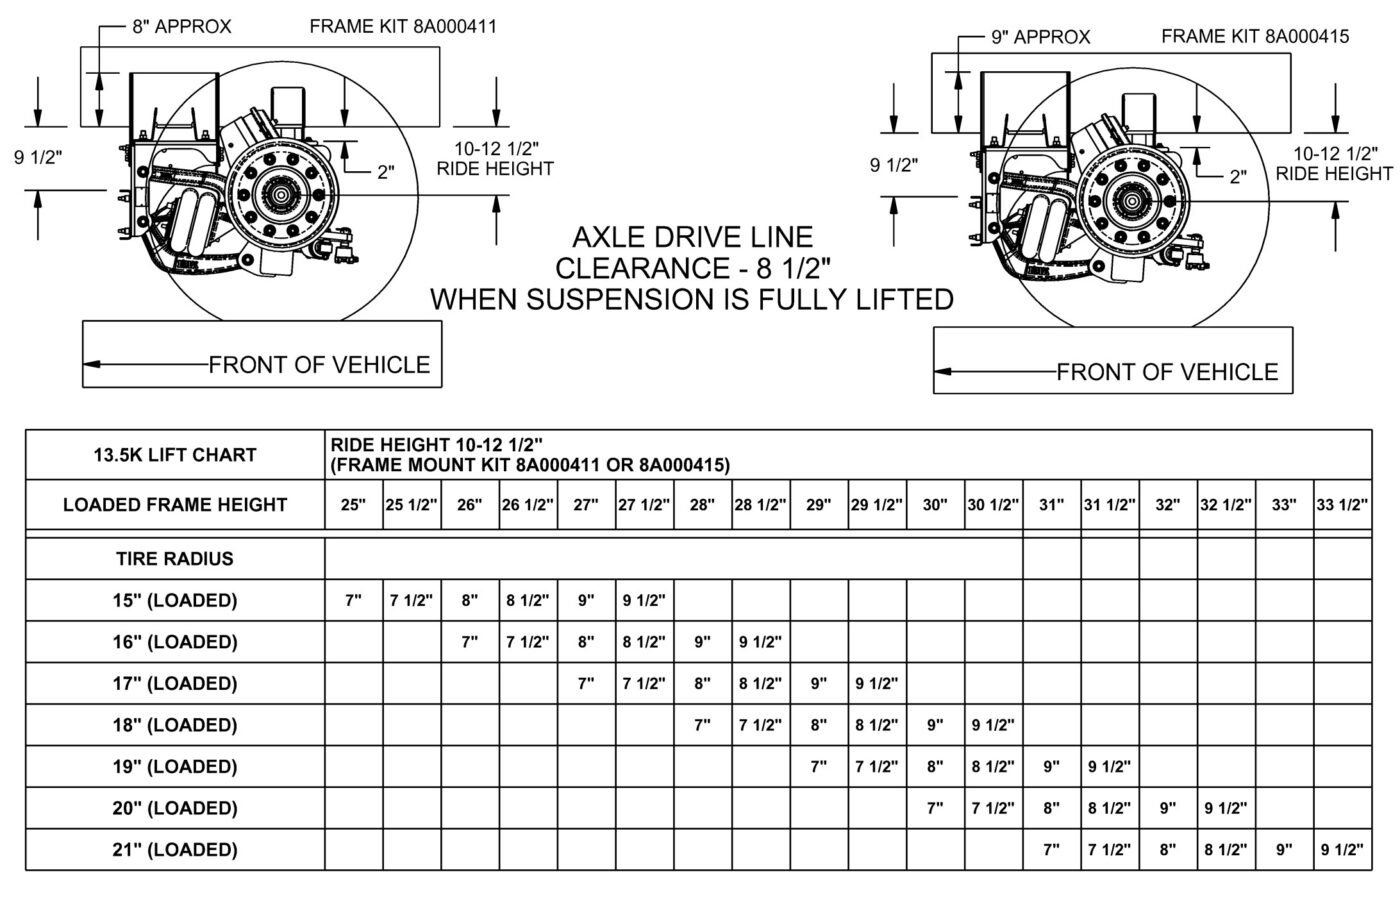
Link offers comprehensive installation charts for lift axle installation, detailing the critical relationship between ride height and lift for various tire sizes. These charts are particularly useful when determining available clearance for the axle. Once you’ve checked every box on the pre-installation checklist, it’s time to move into the installation.
STEP 2 Marking Lift Axle(s) Locations
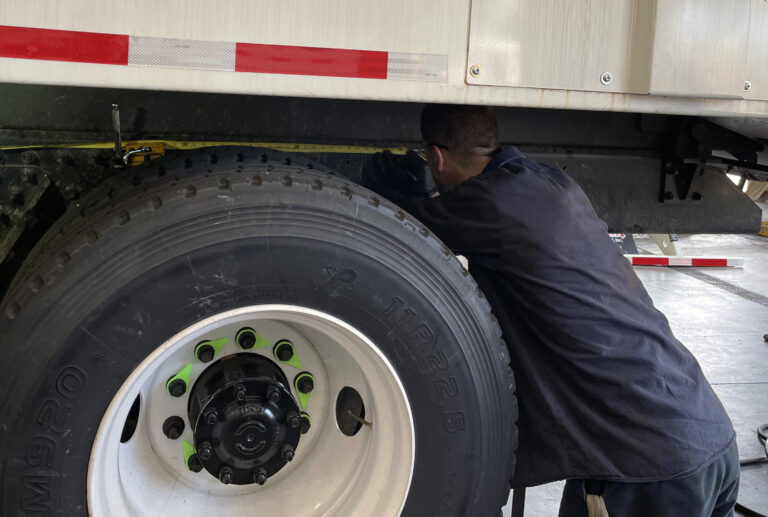
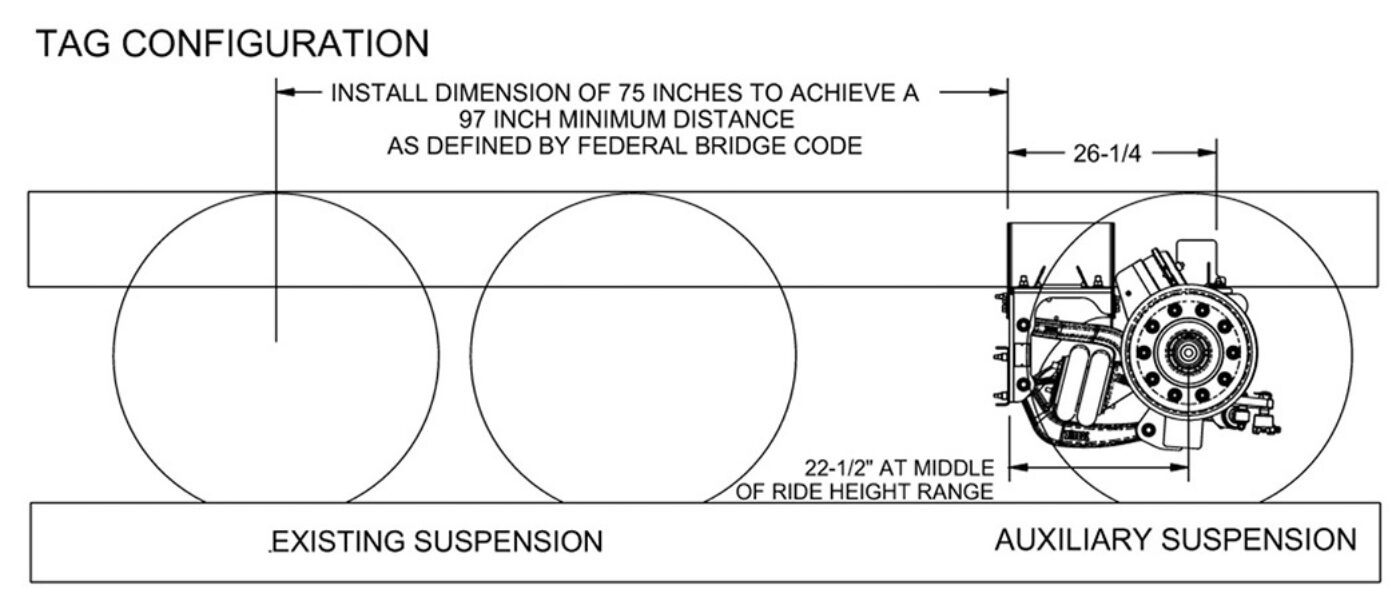
The second step in the installation process involves carefully marking the location of the lift axle(s) on your truck. This is a crucial step as it ensures that your truck meets the requirements of the Federal Bridge Law. The Federal Bridge Formula provides the exact centerline for the suspension, which is essential for proper balance and legal compliance. To assist in this, dimensions are provided that indicate where to mark the front of the frame bracket and the back of the air spring mounting bracket on the frame rails. It’s important to follow these guidelines precisely to ensure the lift axle is correctly positioned for optimal performance and regulatory adherence.
STEP 3 Frame Bracket Positioning & Installation
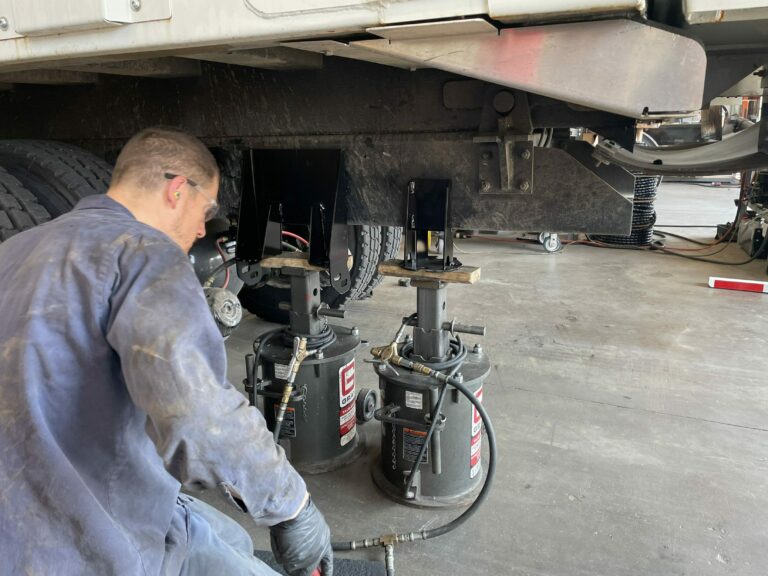
Step 3 focuses on the installation of the frame brackets. When using Link’s patented Swift Mount system, the upper sections of the frame brackets should be attached to the truck frame using clamps or pneumatic jack stands. This ensures a secure and precise fit. Link’s Swift Mount Brackets reduce installation time by up to 20%, and with just 4 sets in inventory, you can install any Link Lift Axle.
It’s crucial to double-check the alignment of the frame brackets. Ensure that frame brackets are tightly fitted against both the vertical and horizontal sections of the frame rail so you can center punch the hole locations as accurately as possible. Prior to drilling, inspect the interior side of the frame rails to confirm there are no obstructions. Brake lines, fuel lines, air lines, or wire harnesses could be damaged if clearance is not ensured beforehand.
STEP 4 Bracket & Frame Drilling
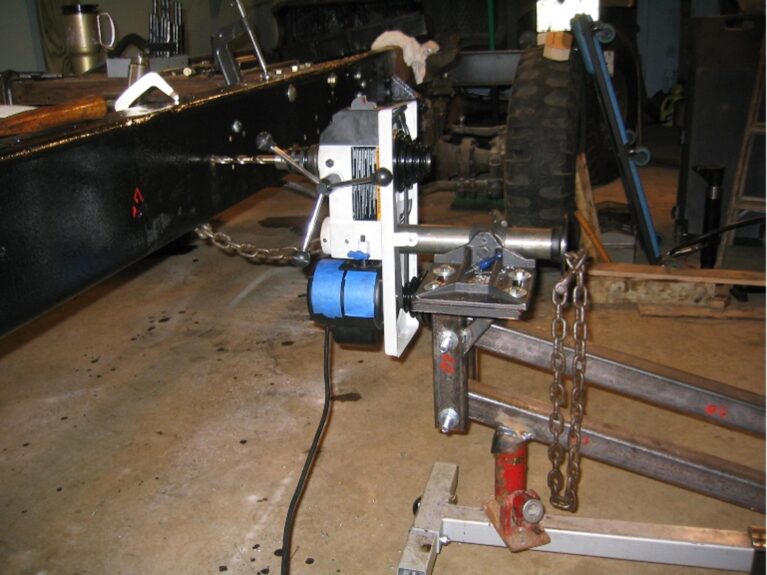
During the installation process, body builders often opt for frame brackets without pre-drilled holes. This flexibility allows for adjustment in the hole pattern, accommodating other existing fasteners, and avoiding oval holes.
Once the brackets are firmly clamped to the frame rail, a horizontal frame drill or a portable drill press with a magnetic base can be employed for drilling. After drilling, remove any burs from the brackets and frame, as these can cause issues with securing the bracket to the frame rail.
Finally, secure the brackets to the frame rails using Grade 8 hardware. It’s essential to torque this hardware to the specifications provided in the installation instructions, ensuring a safe and secure fit.
STEP 5 Mounting the Axle to Frame
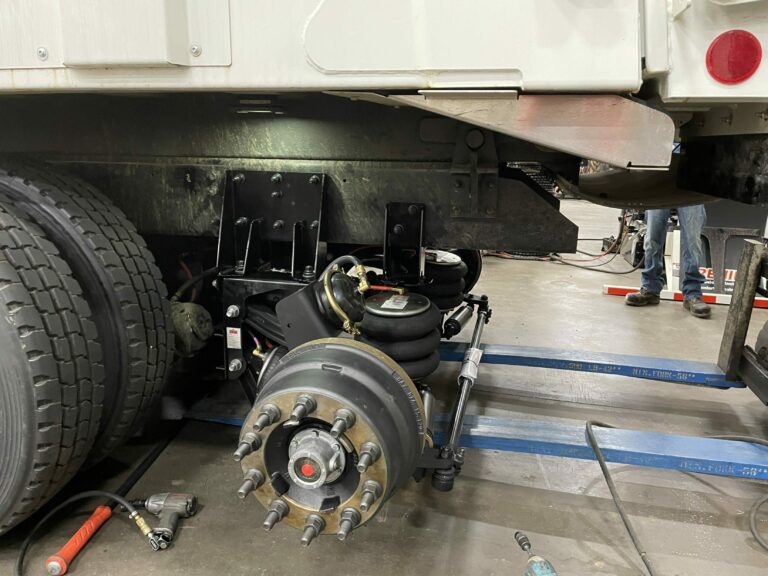
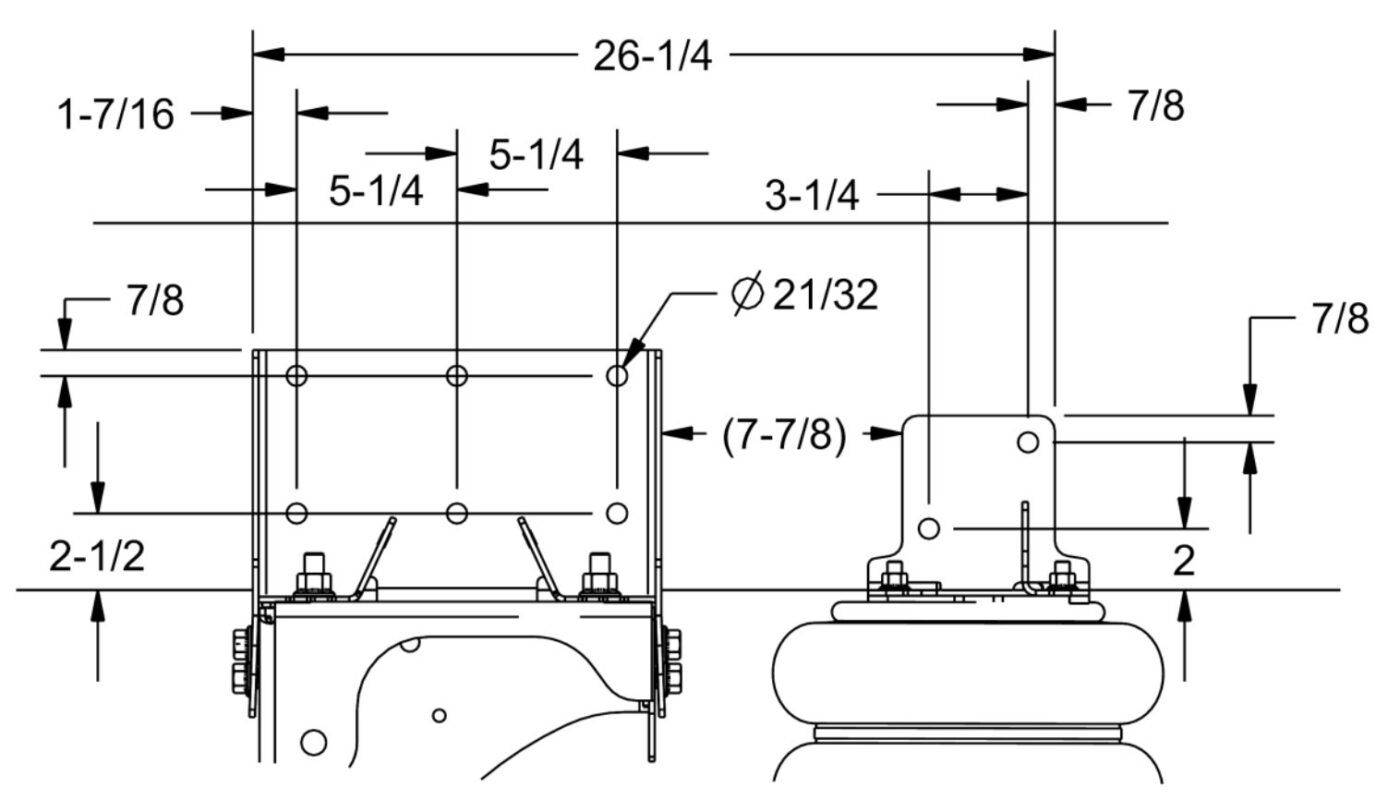
The fifth step involves careful assembly and inspection of the lift axle components. Begin by elevating the lower lift axle assembly towards the upper frame brackets. Utilize the protruding ears on the upper frame brackets and bolts from the lower assembly for accurate alignment and ease of installation. Ensure that the axle is positioned correctly using the built-in visual indicators. Once the correct position has been verified, secure the assembly with the hardware provided.
Next, install the air controls and connect the air lines for both the lift axle and its brakes. After air line installation, it’s essential to conduct a thorough inspection by raising and lowering the lift axle, ensuring there are no air leaks. If the lift axle is installed in the pusher position, it’s also advised to inspect the drive line clearance. However, it’s important to note that the drive line will exhibit additional drop during rebound events, where the chassis and axle move apart from each other. Remembering this is crucial for ensuring optimal operation and safety of the lift axle system.
STEP 6 Completing the Lift Axle Assembly
To finalize the assembly of the lift axle, follow these essential steps:
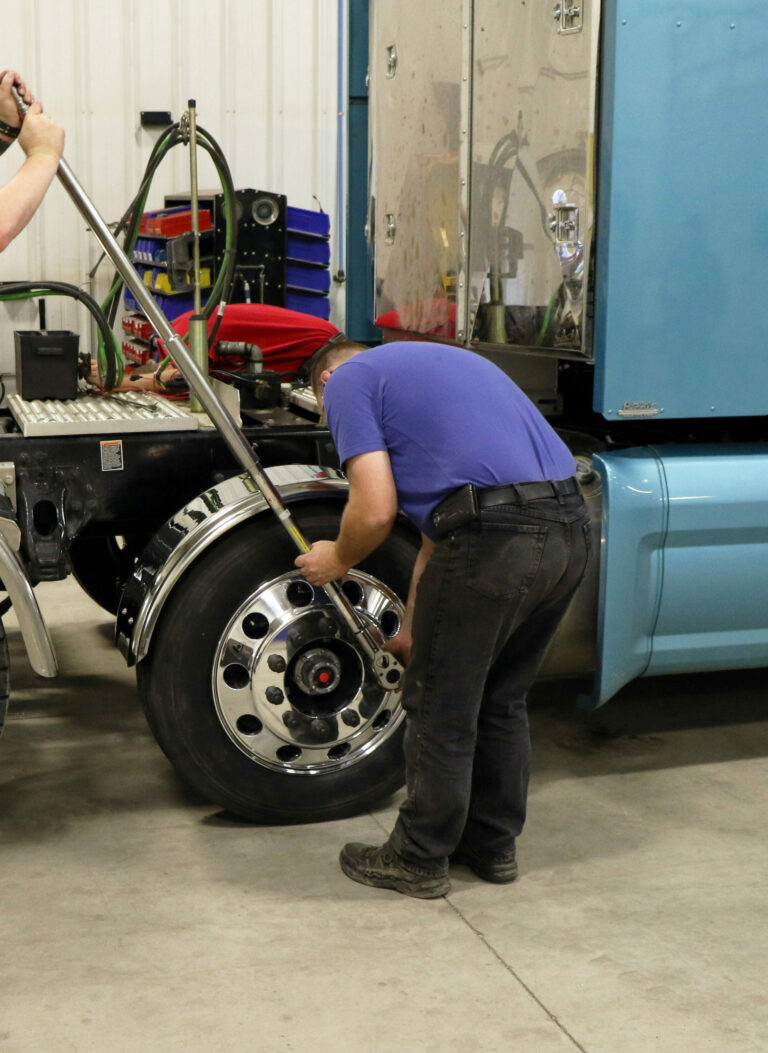
- Wheel Installation: Mount the wheels on the lift axle, ensuring they are properly aligned and secured.
- Lug Nut Installation: Securely fasten the lug nuts. It’s crucial to follow the manufacturer’s specified torque settings for safety and performance.
- Brake Inspection and Adjustment: Carefully inspect the brakes for proper installation and operation. Adjust as needed to ensure they function correctly and safely.
- Steering Stop Adjustment (if applicable): If your installation involves a self-steerable lift axle, adjust the steering stops as required to prevent tire rub against the chassis or other components during full lock turns.
- Setting the Suspension Pressure Regulator: Use the chart provided in the Owner’s Guide to set the suspension pressure regulator accurately. This step is crucial to achieve the target axle load and ensure balanced load distribution.
- Weighing the Axle Load: After setting the suspension pressure, it’s recommended to check the actual ground load carried by the lift axle on a scale. Due to manufacturing variances, each air spring may carry a slightly different load, so this verification step is vital for accurate load distribution.
By carefully following these steps, you ensure that the lift axle is properly installed, adjusted, and ready for operation, contributing to the safety and efficiency of the vehicle.
STEP 7 Post-Installation Checklist for Axle Installation
After installing a lift axle, it’s crucial to perform a comprehensive post-installation review to ensure everything is correctly set up and functioning.
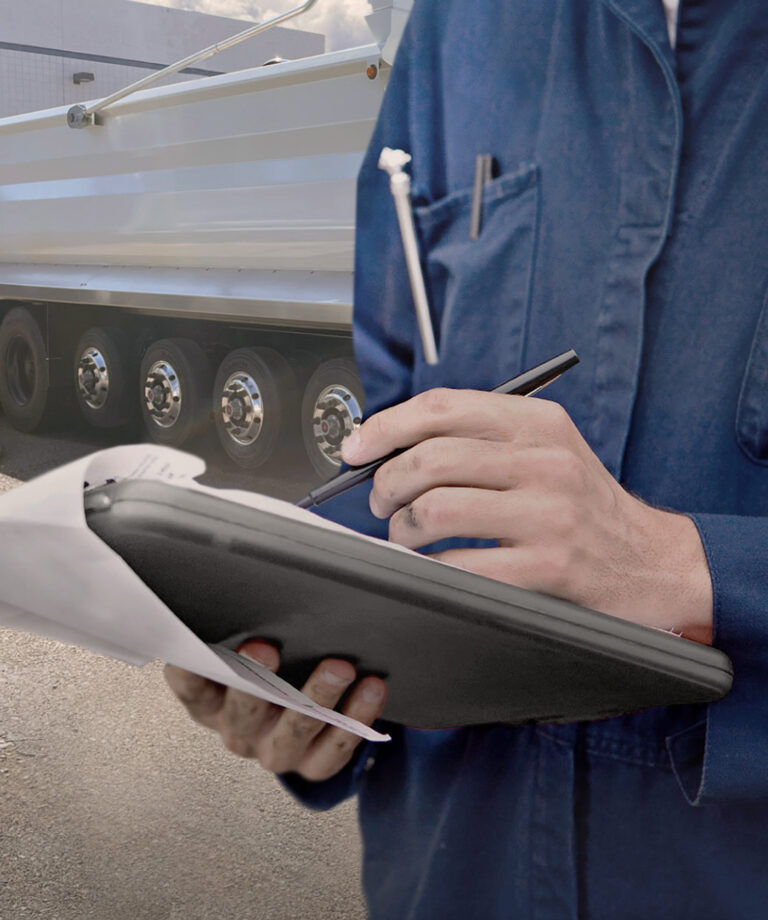
- Fastener Verification: Double-check that all fasteners are installed and have been tightened to the specified torque values. This ensures structural integrity and safety.
- Wheel Lug Nuts: Confirm that all wheel lug nuts are tightened to the specified torque values to prevent any wheel-related mishaps.
- Wheel Hub Lubrication: Ensure that wheel hubs are filled with the manufacturer-specified lubricant at the proper levels for optimal performance and longevity.
- Toe-In Adjustment: Make sure that the toe-in is set correctly. Improper toe-in can lead to uneven tire wear and affect steering and handling.
- Brake and Slack Adjuster Settings: Verify that brakes and slack adjusters are properly set for safe and efficient braking.
- Steering Stop Inspection: Check that the steering knuckle contacts the steering stops before the tires come into contact with other components to avoid potential damage.
- Drive Shaft and Auxiliary Suspension Clearance: Confirm there’s at least 1 inch of clearance between the drive shaft and the auxiliary suspension with the axle lifted. You may need to lift the rear of the chassis to simulate the front drive axle hanging for this check.
- Tire Clearance Examination: Ensure there is adequate clearance for the tires in all directions with the auxiliary axle both lifted and lowered, including turning clearance for self steerable lift axles.
- Air Spring Clearance: Check clearances around the air springs in all directions with the lift axle in both lifted and lowered positions to avoid any interference.
- Suspension and Truck Component Clearance: Finally, verify that there’s enough clearance between the suspension and other truck components when the lift axle is both lifted and lowered.
Completing these steps helps ensure that your lift axle installation is safe, compliant, and ready for operation.
Lift Axle Post-Installation Troubleshooting
Upon completing a lift axle installation, it’s not uncommon to encounter questions and concerns, especially when something doesn’t seem to function as expected. If you encounter an issue with an axle prior to, during, or post axle installation, reach out to our experienced team. We would be happy to walk through the problem and help you find a solution so you can move forward with confidence.
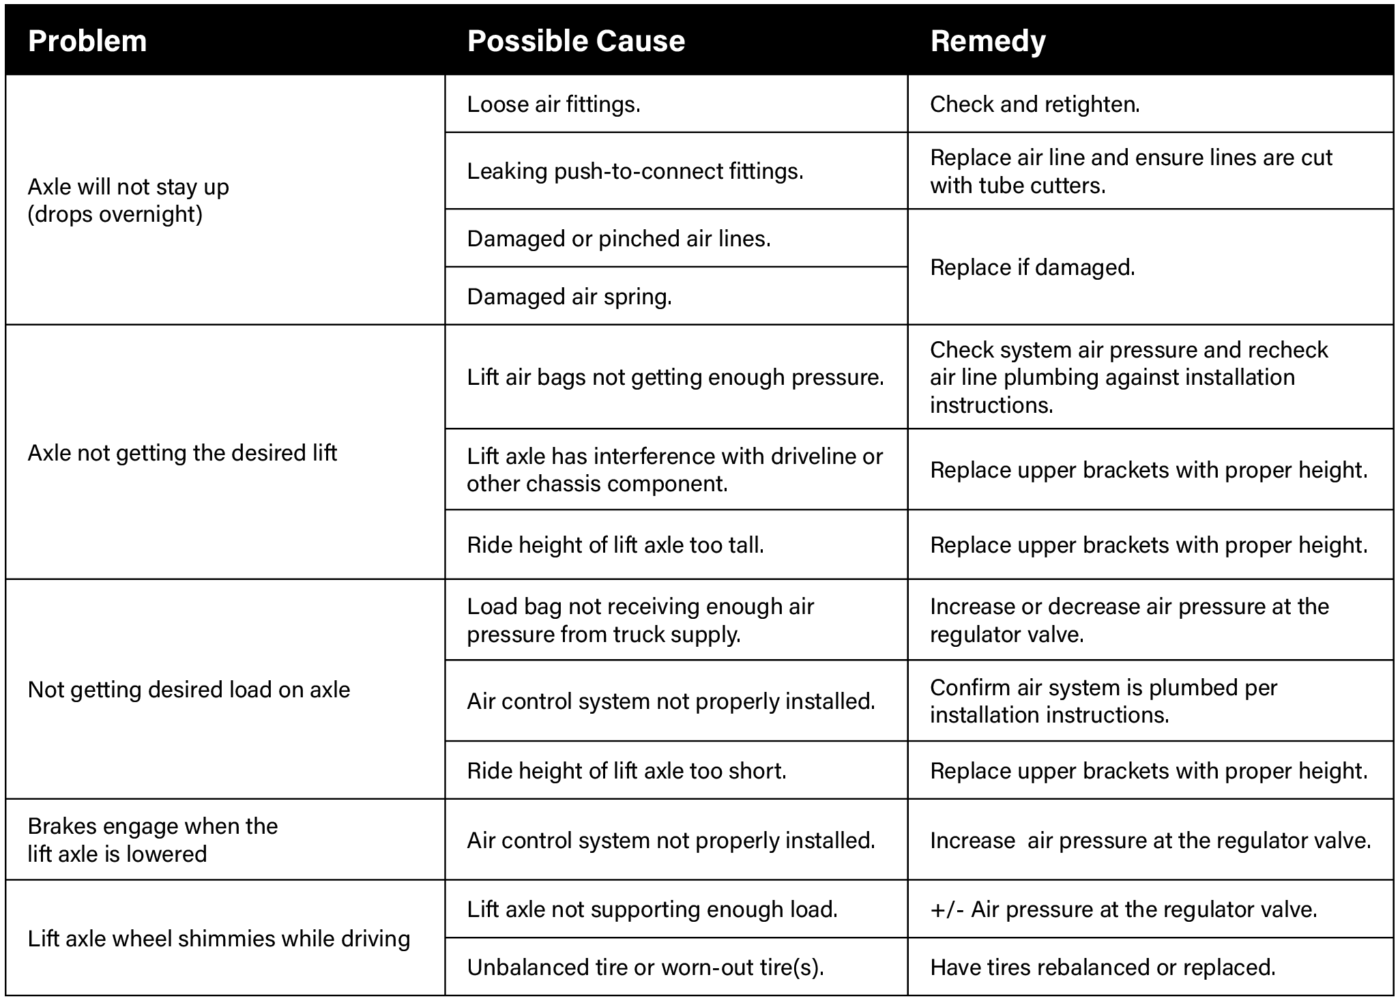
Air leaks are one of the most frequent issues our team encounters during customer service calls on post-installation problems. This issue is often caused by the tool used to cut the air lines. Some technicians will utilize side cutters when cutting the line, a tool typically used for snipping zip ties. However, this tool can inadvertently pinch the airline into an oval shape rather than creating a clean, straight cut. Such a distortion prevents the airline from forming a proper seal in the push-to-connect fitting, which leads to air leaks. To avoid this issue, we strongly recommend using proper tube cutters for a precise, clean cut. Tube cutters ensure a round edge that seals effectively against the gasket inside the fitting.
If any other issues arise post-installation, give our team at Link a call. Each member of our sales team is prepared to offer insight, guidance and personalized assistance through every step of the problem diagnosis and solution. We’re happy to help you ensure that your lift axle is running properly to optimize safety, productivity and profitability for your application.
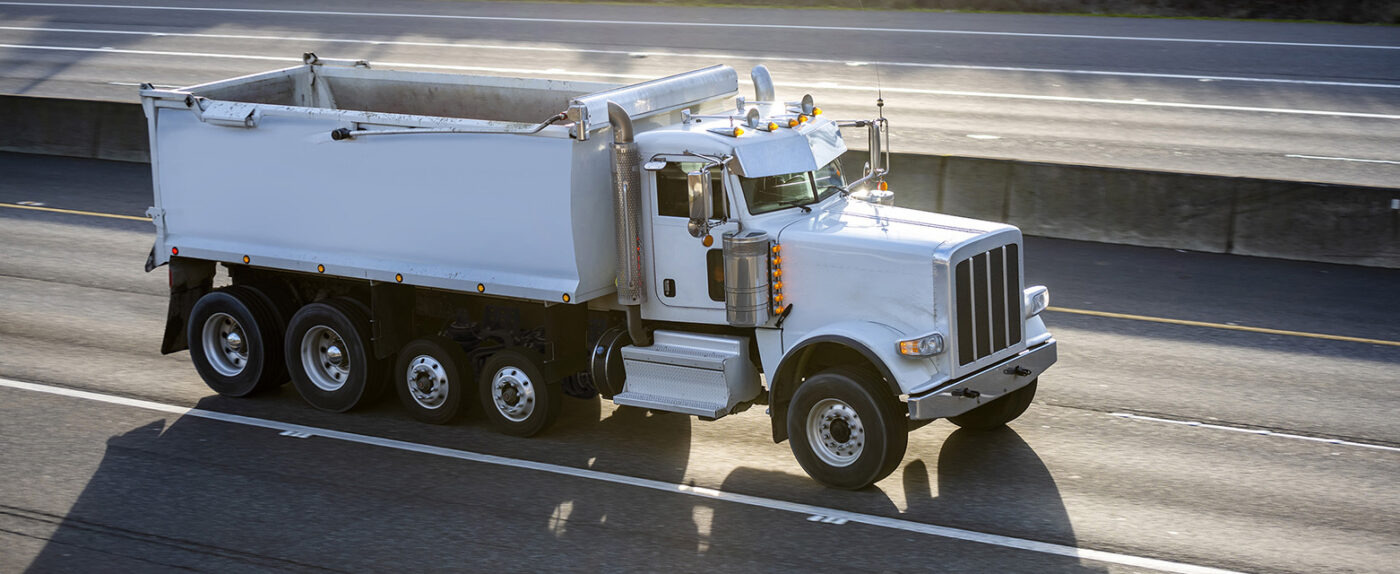
While the process of installing lift axles is generally straightforward, paying close attention to details—like using the right tools and accurately measuring ride heights—can significantly reduce the likelihood of post-installation problems. With these considerations in mind, the installation and subsequent operation should be seamless, ensuring your lift axles function optimally and contributes effectively to your fleet’s performance.
Blog Author
Jimmy Winslett
Senior Account Manager


